Install Motion Path — it’s free → See the product page
The short answer: the Lottie export lives in Motion Path under … → Copy as code → Lottie. It is one of four tabs in that panel, it generates a Lottie 5.9 document from the same resolved path and timing the preview shows, and two icon buttons in the panel header copy it or download it as motion-path.json.
This page is the reference: every control in the panel, every field in the generated document, what the notes underneath mean, and how the Lottie tab differs from the three beside it. If you want the walkthrough instead, the step-by-step guide is the better page.
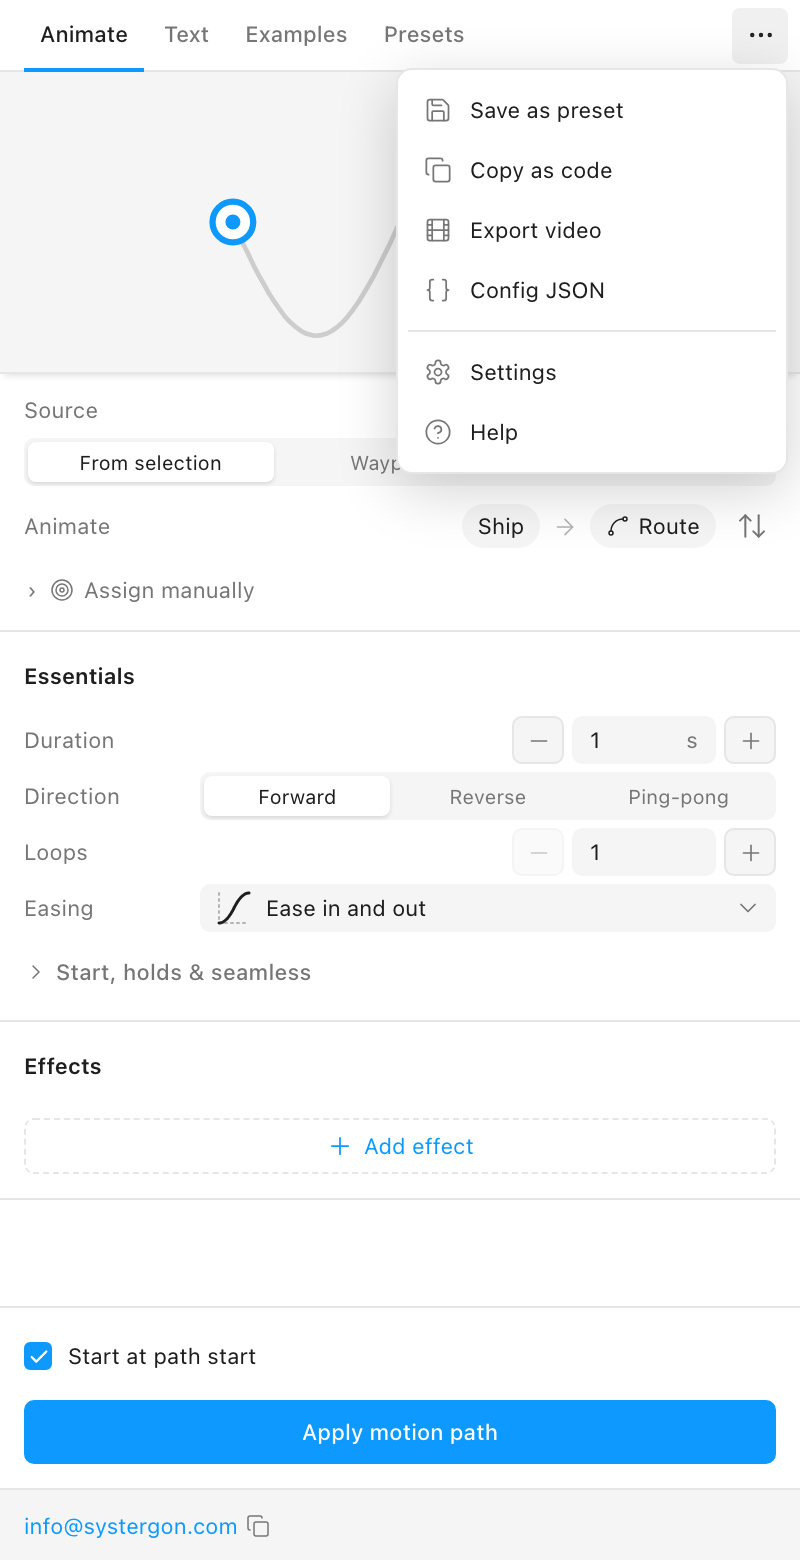
The … button at the right of the plugin titlebar opens a six-item menu. Three of those items are exports.
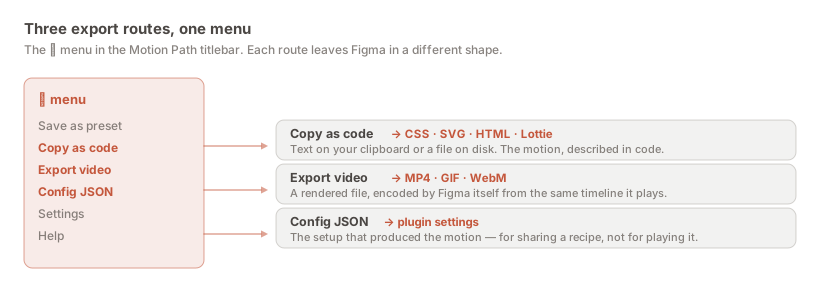
Copy as code is the design-to-code handoff. Export video is a rendering, covered in the video guide. Config JSON is neither — it holds the plugin settings, and the JSON comparison explains why it is easy to grab by mistake.
The panel opens on CSS. All four tabs describe the same motion, generated from the same resolved polyline and timing, and they differ in what the other end can do with them.
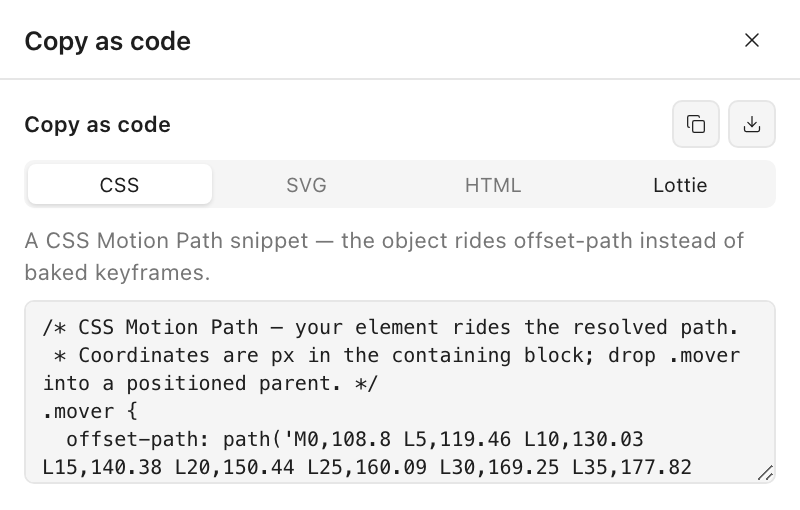
A semantic CSS Motion Path snippet: offset-path, offset-distance and offset-rotate. The object rides the path rather than moving between baked keyframes, so the file is short, readable, and editable by hand afterwards. The comment at the top notes that the coordinates are in pixels relative to the containing block, so the element needs a positioned parent. Filename motion-path.css.
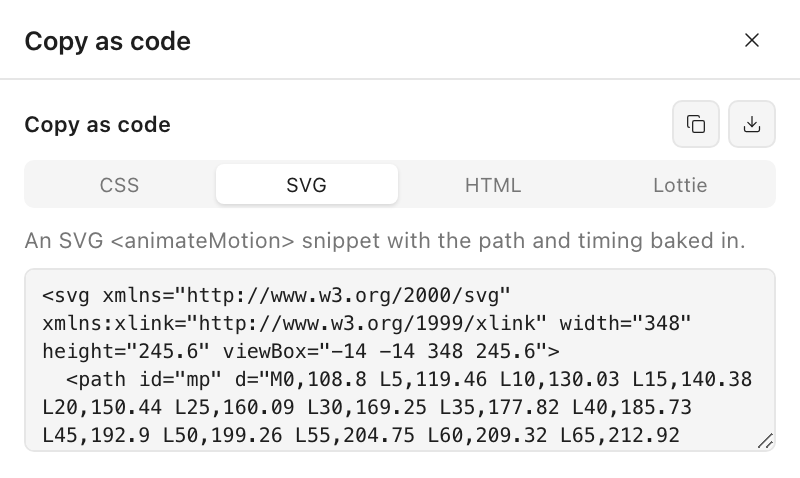
An <animateMotion> snippet with the path and timing baked in. Useful when the animation has to live inside one self-contained image rather than depend on a stylesheet. Filename motion-path.svg.
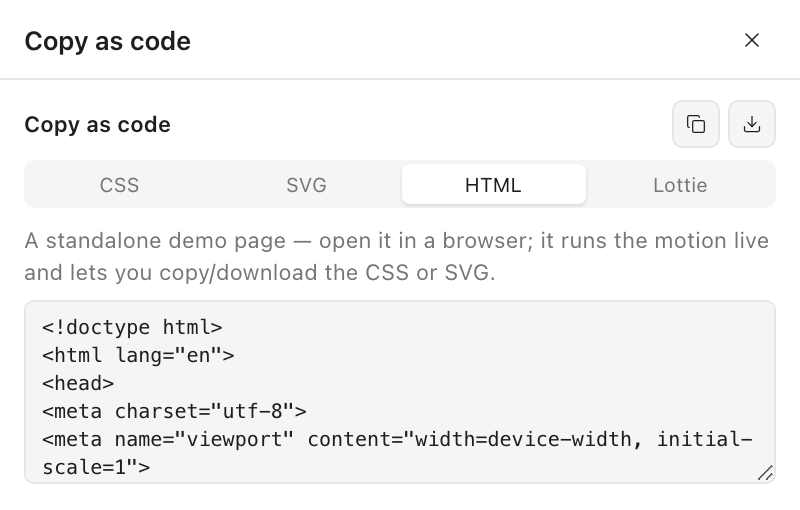
A standalone demo page. Open it in a browser and the motion runs live, with its own controls to copy or download the CSS and SVG from inside it. It is the fastest way to show someone the real motion without asking them to install anything. Filename motion-path-demo.html.
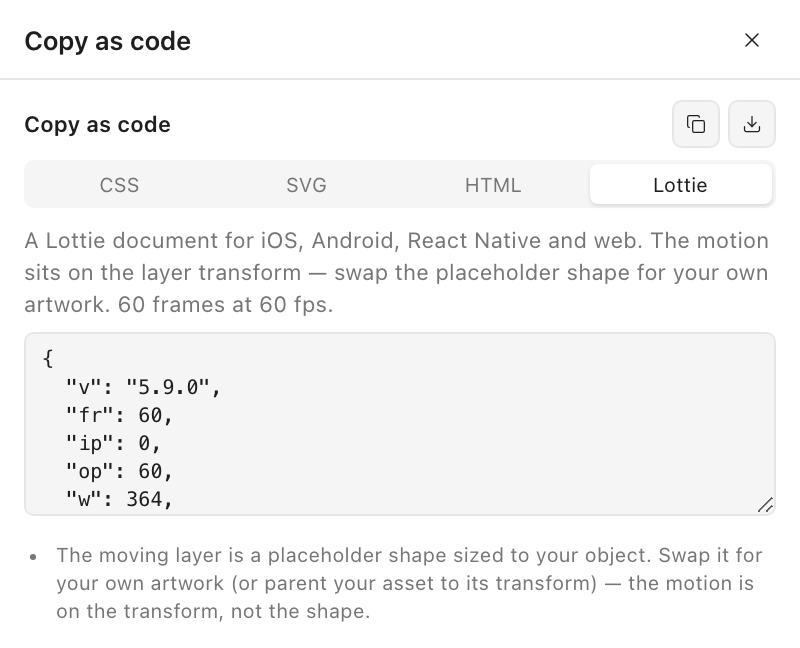
A complete Lottie document for iOS, Android, React Native and web. Filename motion-path.json, MIME type application/json.
Two details in this tab are worth pointing out because they are easy to skim past. The description line states the composition length — 60 frames at 60 fps in the screenshot — so you know what you are handing over before you copy it. And the Lottie document is generated only when this tab is selected, because it bakes far denser keyframes than the CSS and SVG snippets and there is no reason to compute that while you are looking at CSS.
The two icon buttons in the panel header act on whichever tab is selected, and produce identical content.
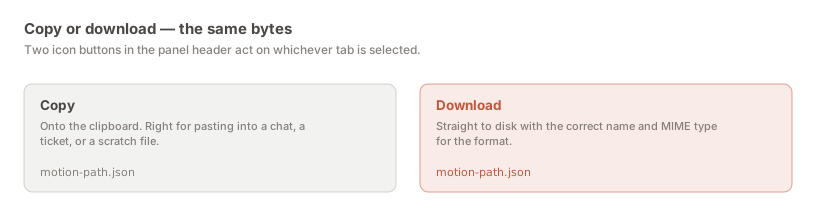
They sit in the header rather than under each tab so that all four formats fit the plugin’s 320-pixel panel width without the layout changing as you switch. Download is the one to use when the file is going into a repository, because it arrives correctly named and typed.
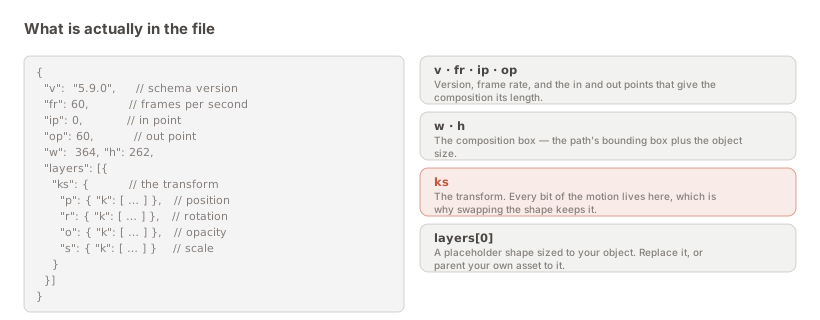
v — the schema version, 5.9.0. Chosen because it is what every maintained release of the four official players consumes without a shim.fr — frames per second for the composition.ip / op — the in and out points. Together with fr they give the composition its length; op is the total frame count.w / h — the composition box, derived from the path’s bounding box plus the size of your object, so the motion is framed rather than clipped.layers — one layer, holding a placeholder shape sized to your object.layers[0].ks — the transform, and the important one. p position, r rotation, o opacity, s scale. Every bit of the motion is here.That last point is the design decision the whole export rests on. Because the motion is on the transform rather than in the shape, a developer swaps the placeholder for real artwork — or parents their asset to the transform — and keeps the animation exactly. One motion file can drive different artwork.
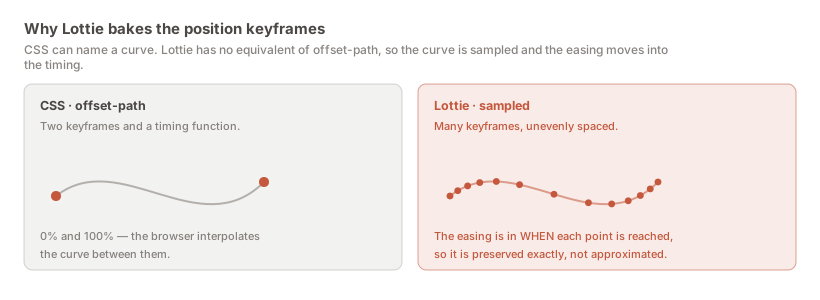
The CSS tab describes the curve. The Lottie tab cannot, because Lottie has no equivalent of offset-path — there is no way to say “follow this curve with this easing”. So the path is sampled densely and the easing is folded into when each sample is reached.
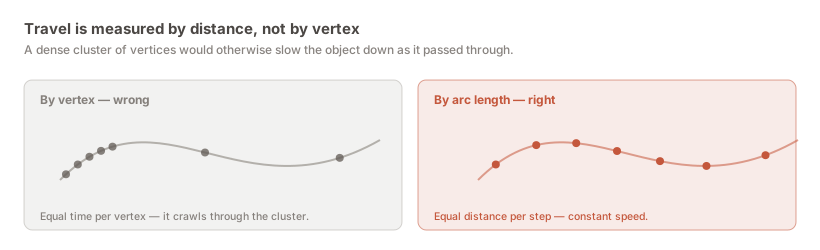
The effect is that easing is preserved exactly rather than approximated, and that the spacing of the keyframes is the easing. Travel is measured by real arc length as well, so an uneven distribution of vertices in your source vector does not change the speed of the object.
Below the code box, the panel prints a short list of notes. They are generated from your configuration rather than being a static disclaimer, so the list changes with what you actually used.
One note always appears: the moving layer is a placeholder shape sized to your object, to be swapped for your own artwork. The others appear conditionally:
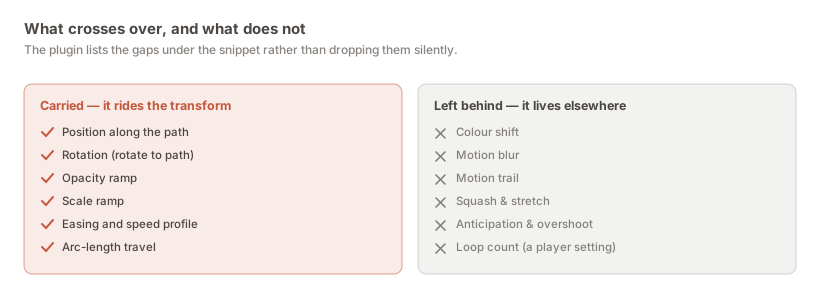
Naming them rather than dropping them silently is the point. Forward the notes with the file — the handoff guide covers why that saves a round trip.
Everything in this panel is generated from one source, and knowing that explains several of its behaviours at once.
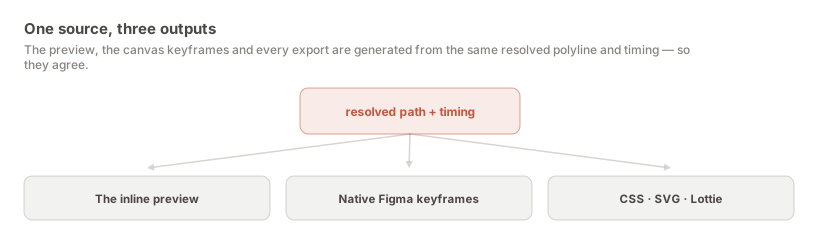
The plugin resolves your path into a polyline — whether it came from a vector pen path, the outline of a shape, or a procedural circle, wave or spiral — and pairs it with the timing model from the Essentials section. That single resolved pair drives the inline preview, the native Figma keyframes written when you press Apply, and all four exports in this panel.
Two consequences follow. First, the exports cannot disagree with the preview, because there is no second implementation for them to disagree with. Second, the exports reflect the panel state live — change the duration or the easing on the Animate tab and reopen this panel, and the code has changed with it. That is convenient, and it is also the reason to export after you have finished tuning rather than partway through.
It also explains why the active path range is respected. If you have trimmed the traversal to run from 20% to 80% of the path, the exports describe that trimmed motion rather than the whole path — the resolved polyline they read from is already trimmed. Animating only part of the path covers the control.
The Copy as code section hides itself entirely when there is no resolvable path — a procedural-only edge case, or an empty selection. That is deliberate: empty code boxes look broken, and there is genuinely nothing to hand off yet.
If the panel is missing, go back to the Animate tab and check that a path and an object are both resolved. Why “Apply motion path” is greyed out covers the same underlying causes.
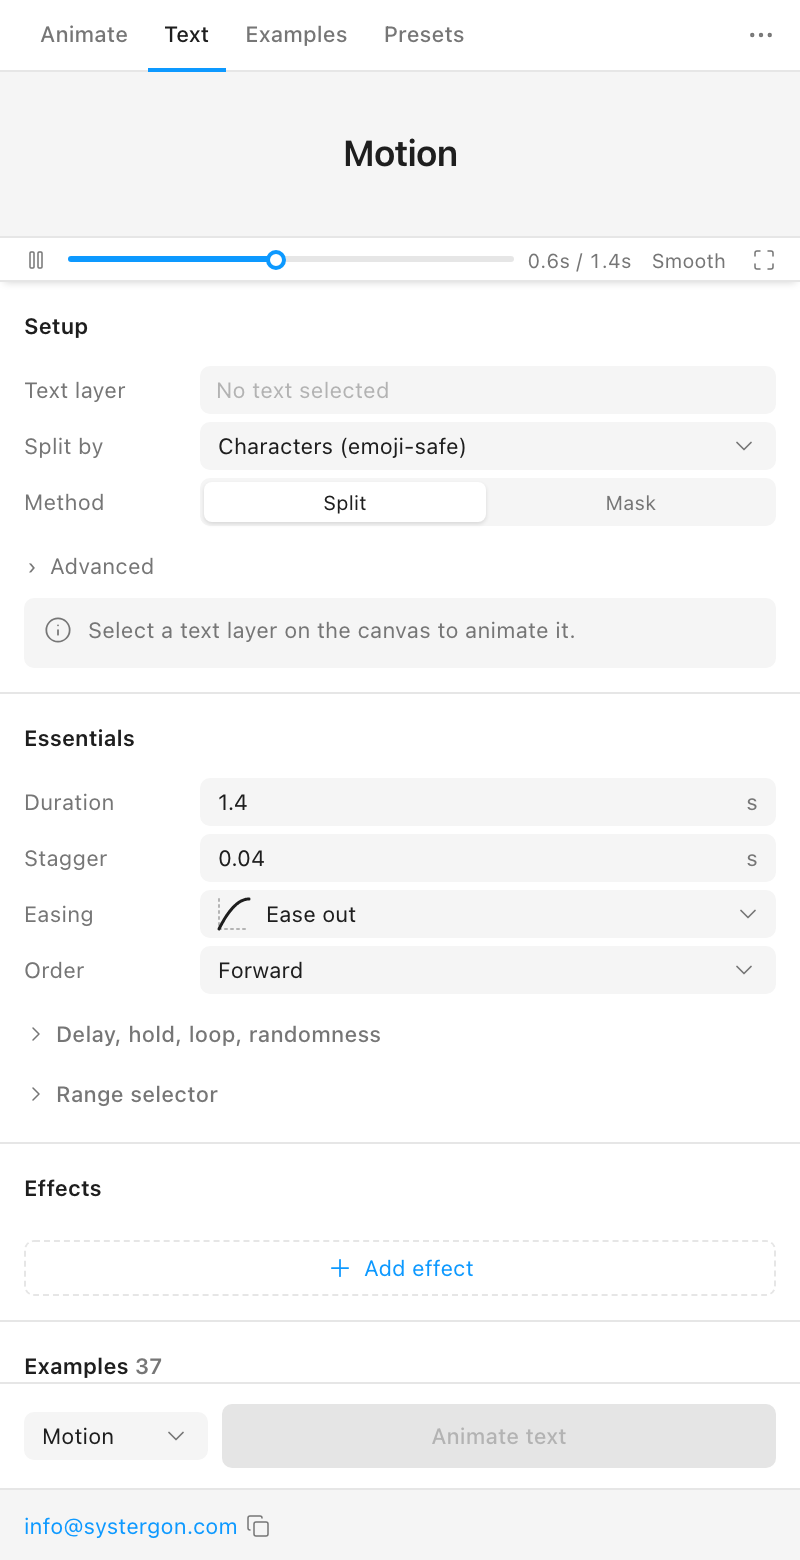
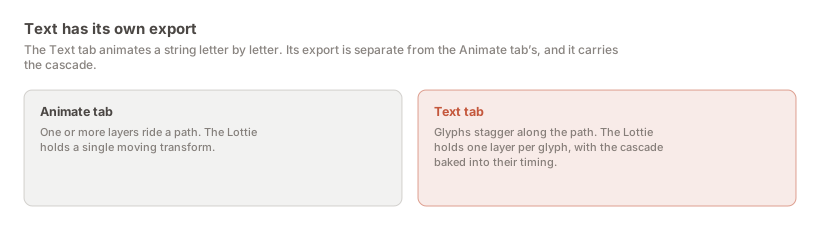
Text animated along a path is a different shape of animation — many glyphs, staggered — so it has a separate export rather than being squeezed into the Animate tab’s. The Lottie it produces holds one layer per glyph, with the stagger baked into each one’s timing. Animating text letter by letter covers the setup.
The box shows the beginning of the generated document rather than all of it, and it scrolls. That is a deliberate limit of a 320-pixel panel rather than a truncation of the output — copy and download always act on the complete file, however little of it is on screen.
For the Lottie tab specifically, what you can see at a glance is the header: the version, the frame rate, the in and out points, and the composition dimensions. Those five values are worth reading before you copy, because they are the ones most likely to be wrong for a reason you can fix in ten seconds. A frame rate you did not expect, an op that does not match the duration you set, or a composition box far larger than your motion usually means the panel is describing a different path than you think it is — most often because the selection changed while the panel was open.
The rest of the document is the transform tracks, and there is no useful way to eyeball those. Verify them by loading the file into a player, not by reading the numbers — the export JSON guide describes what to check.
The … menu in the plugin titlebar, then Copy as code, then the Lottie tab. Copy and download icons sit in the panel header.
CSS describes the curve — offset-path plus a timing function, which the browser interpolates. Lottie cannot express a curve that way, so it samples the path densely and folds the easing into the timing. CSS is shorter and hand-editable; Lottie runs on mobile as well as the web.
motion-path.json with application/json. The other tabs use motion-path.css, motion-path.svg and motion-path-demo.html with their matching types.
5.9.0. The export keeps to transform tracks that every current player implements identically, rather than newer features with uneven support, so the file renders the same across web, iOS, Android and React Native.
The Lottie is generated only when its tab is selected, because it bakes far denser keyframes than the CSS and SVG snippets. There is no reason to compute that while you are looking at another tab.
They list what your specific animation could not carry into the format, generated from your configuration rather than being a fixed disclaimer. One always appears — the placeholder shape — and the rest depend on which effects you used.
There is no resolvable path yet — usually an empty selection or a procedural-only edge case. The section hides rather than showing empty boxes. Resolve a path and an object on the Animate tab.
Yes, from the Text tab’s own export. It produces one Lottie layer per glyph with the cascade baked into their timing, rather than the single moving transform the Animate tab produces.
No. Every route in this panel is a pure export — it reads the applied animation and writes nothing back.
Install Motion Path — it’s free → Browse 300+ animation examples