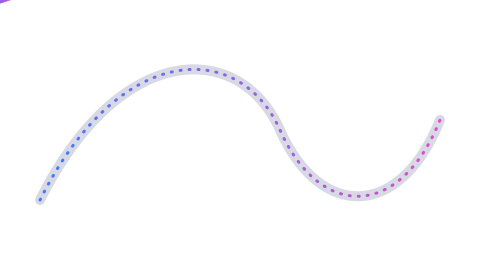
Motion Path is a Figma plugin that makes any layer travel along a curve — riding a path, banking into turns, stretching where it’s fast, blurring with speed, and winding up before it launches — all baked as real, native Figma Motion keyframes. This is a field guide to the whole toolkit, from following a curve to the two newest additions: velocity-linked motion blur and anticipation & overshoot. Every animation below is a small SVG drawn by the exact primitives the plugin writes onto your canvas.
Install Motion Path — it’s free → See the product page
Native Figma Motion animates properties, and it’s excellent at that. But path-based motion — the stuff that makes an animation read as alive rather than mechanical — has always meant hand-placing dozens of translate keyframes, one for every bend in the road. Motion Path collapses that into a single act: pick a shape to follow, pick a thing to move, hit apply. The plugin samples your path, bakes clean native keyframes, and hands you a timeline you can still edit by hand afterwards.
That base — a rock-solid path sampler feeding real Figma keyframes — is what lets everything else stack on top. Once an object knows where it is on a curve and how fast it’s going at each point, you can key almost anything to that: its rotation, its scale, its colour, a blur, a trail of ghosts, or a wind-up before it moves. The workflow never changes:
You are never stuck drawing a shape by hand, either. Motion Path can read a track from any source: a vector line you draw with the pen, the outline of any shape — a rectangle, ellipse, polygon, star, or boolean — that the object rides edge-first, a procedural circle, wave or spiral it builds for you with no path layer at all, or a hand-drawn waypoint route you place point by point. If the plugin picks the wrong layer as the path, Set as path and Set as object let you choose them yourself, and Load from selection reads back an animation you already applied so you can re-open and edit it.
Because the result is standard Figma Motion, it keeps working as Figma grows. You can open the Motion panel and tune the keyframes by hand, inspect them in Dev Mode, or export them — nothing is locked inside the plugin. Even if Figma one day turns on its own basic path option, your work is already native Motion data: there is nothing to migrate or convert.
Each of these is a toggle or a graph in the panel, and each rides the same sampled arc position — so they layer without fighting each other. Here’s what they actually look like.
The foundation. The object rides the curve by arc length — evenly spaced, never lumpy — and auto-orient rotates it to the tangent so an arrow points where it’s headed. A paper plane noses into every bend; a little car steers around the corners. Auto-flip keeps asymmetric shapes and text upright on the return leg, so your object never ends up upside-down when the path doubles back.
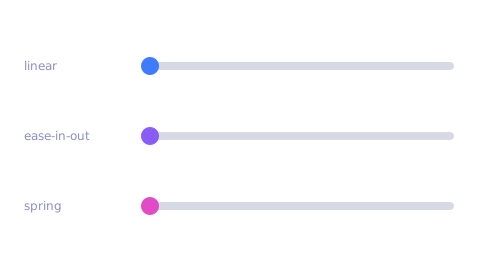
The full Figma-native easing set — linear through ease-in-out, the back overshoots, and four springs — plus a custom cubic-bézier and custom-spring editor for when the presets aren’t quite right. Bind an easing to a Figma variable and every animation that uses it re-times at once, so a whole system stays in sync from one place. Below is the same trip run three ways: steady linear, a smooth ease-in-out, and a springy settle.
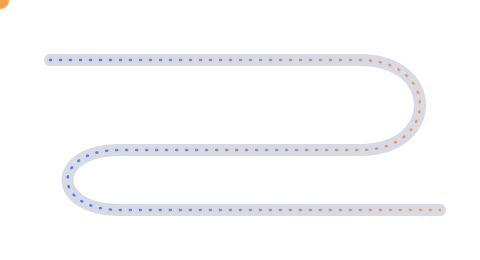
Draw a speed-over-distance profile and the object redistributes its keyframe times — fast on the straights, slow into the corners — while positions stay pinned to the path exactly. One click auto-generates a fast-straight / slow-corner profile from the shape’s own bends, so a dot laps a track the way a real car would: flat out down the straight, braking into the hairpin. This is path timing, separate from path shape.
The classic animator’s trick, computed from the timing you already set. Where the object moves fast it stretches along travel and thins perpendicular (area-preserving); where it slows, it squashes. Add banking to lean it into turns. A bouncing ball goes thin in the air and flat on impact, and robotic path-following suddenly becomes motion with mass — weight for free, driven entirely by the velocity data the plugin already has.

Key the object’s fill through a ramp of stops spaced by arc position — a two-stop from→to, or a multi-colour gradient for a heat trail, a status transition, or a charging flow. It’s a real fills[0] colour track, interpolated smoothly between dense samples, so a dot can warm from blue to red as it climbs, or a pulse can heat up as it runs a circuit.
Bake faded ghost copies trailing behind each object, each a fixed arc-length back and fading toward transparent. These are real cloned layers, not a filter — so they export cleanly, and they inherit whatever the lead object is doing: its colour, its scale, its blur, its jitter. It’s the difference between a comet with a genuine tail and a dot with a drop-shadow.

The track itself animates — its stroke reveals ahead of (or trailing) the moving object using native Path Trim. This is the effect behind signatures that write themselves, routes that draw across a map, connecting lines and diagram build-ups, and charts whose lines grow in as a dot leads the way. Reveal grows the whole line behind the object like ink from a pen; Trail sends a short moving window along it like a comet.
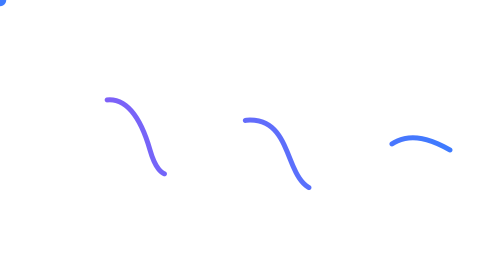
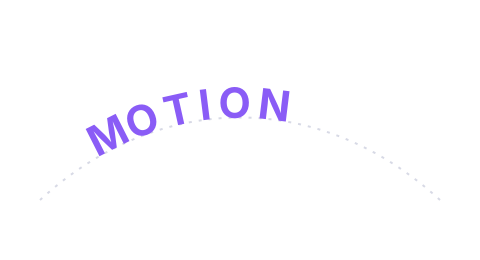
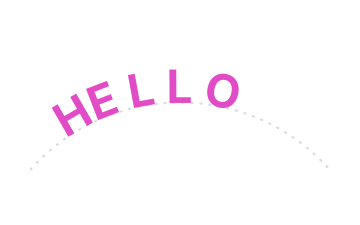
Feed it a text layer and it splits into per-character nodes, distributes them along the curve, and sweeps them on with a stagger — something native Motion, which moves a text box as one block, simply can’t do. It’s real kinetic typography: a word wraps a wave, a headline arcs onto a curve letter by letter, and the copy stays editable on the timeline afterwards.
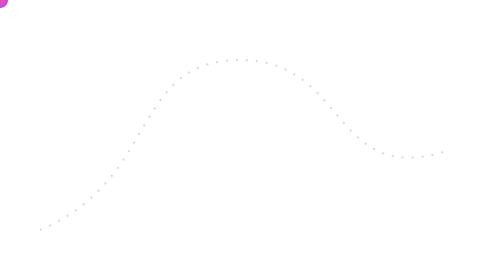
One seed plus one amount deterministically jitters every copy’s start time, offset, size and speed. The same seed reproduces the same arrangement; nudge it to reshuffle. Suddenly N identical layers read as confetti, snow, fireflies, or a school of fish — organic variety without hand-animating a single member of the crowd.
Everything above shapes where and when. These two shape how the motion reads in the body — the smear of speed, and the wind-up before a launch. Both key off velocity data the plugin already computes, so they cost you a single toggle.
The plugin adds a layer-blur to the object and keys its radius to how fast the object is moving. The fastest point on the path reaches your peak radius; the slow parts stay crisp. A constant-speed pan smears the whole way; an eased move blurs on its fast stretch and clears at the ends — real motion blur, not a static filter. Because the blur is a keyed effects[k].RADIUS track, it’s baked into native Motion just like everything else, and it’s guarded so a non-keyable node never loses its motion. This is the first of the two headline features in the release, and it’s what turns a fast dash into something that feels fast.
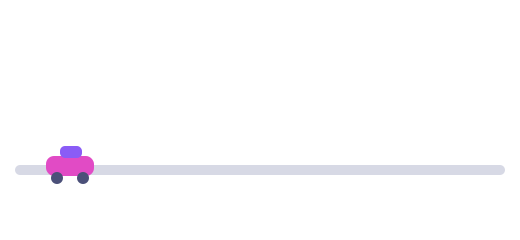
Before it departs, the object recoils backward along its own tangent — a wind-up. Past the finish, it coasts beyond the mark and settles back — a follow-through. A “back” easing can only warp time; this warps position, so the excursions extend right off the ends of the path by a distance you control. It runs as a post-pass on the baked X/Y tracks, borrowing a sliver of time at each end without touching the pace of the main travel, and the timeline grows to fit the tail. It’s direction-, loop- and hold-agnostic, so it drops onto any journey — a rocket that crouches before it climbs, a button that dips then pops up and sails a hair past its mark before settling.
The Path tab is a single scrolling column of sections, and each control appears only when it can actually change the result — the panel hides what it can’t use. The little animation at the top of the panel isn’t decoration: it’s driven by the exact same maths the canvas bakes. Blur peaks at the same arc position, the recoil pulls back by the same fraction, colour lands on the same stop. What you preview is what you apply, down to the timing model — there is no separate render engine and no surprise between the panel and the canvas.
And because the whole thing compiles to native Motion keyframes, your baked animation stays fully editable afterwards, plays in Figma’s own player, and survives a round-trip: re-select the object later and the panel rehydrates every setting from the keyframes on the node.
Each one is a small stack of the features above — the caption lists exactly which. Every scene here runs on the same primitives the plugin exports, so any of them is a real starting point, not a mock-up.




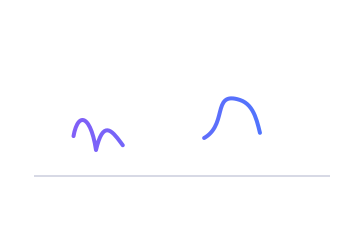


Because everything is grounded in real path geometry and timing, the plugin can emit a semantic snippet instead of two dozen baked translate keyframes. A developer gets a few hand-editable lines that do exactly what the preview showed — the same offset-path and <animateMotion> primitives that drive every demo on this page. A layer riding the curve becomes an offset-path: path(…) with offset-rotate: auto for rotate-to-path and an offset-distance keyframe for the travel; velocity-linked motion blur comes through as a matching filter: blur() keyframe track. Auto-flip, spring approximations, scale and opacity ramps and colour tracks come through as notes under the snippet, so nothing about the handoff is silent — and there’s an SVG <animateMotion><mpath> variant and a self-contained HTML demo page too.
Native Figma Motion gave us keyframes for position, scale, rotation, size and opacity — but not for paths. Motion Path adds that missing piece and then goes well beyond it: rotate-to-path and auto-flip, a velocity graph, velocity-driven squash & stretch, colour shift, trails and onion-skin echoes, draw-on strokes, kinetic type, seeded swarms, and now velocity-linked motion blur and anticipation & overshoot. Follow a path, bank into the turns, blur with speed, wind up and overshoot the landing — then copy it out as code. And it does all of this the right way, by writing real, native Motion keyframes you fully own.
Install Motion Path — free → See the product page
Every animation in this article is a small SVG drawn by the plugin’s own primitives, so what you see here is the same motion Motion Path writes into Figma.